Okay, let’s talk about the unsung hero of the kitchen: ground beef! Seriously, this stuff is like culinary magic – it’s affordable, super versatile, and can whip up a meal faster than you can say “dinner’s ready.” Whether you’re a total newbie or someone who’s been cooking for ages, you’ve probably got a few go-to ground beef dishes tucked away. But what if you could unlock a whole new world of delicious possibilities? That’s exactly what this Ultimate Ground Beef Recipes Guide is all about. I’m Aria Russell, and I absolutely adore helping home cooks like you find joy and confidence in the kitchen. I remember my college days, totally broke, with just a single pan and a wish for something tasty. I threw together this chaotic chili, and guess what? It actually worked! That’s the beauty of ground beef – it’s forgiving, it’s fun, and it proves that amazing meals don’t need to be complicated or expensive.
Why This Smashburger is a Must-Try
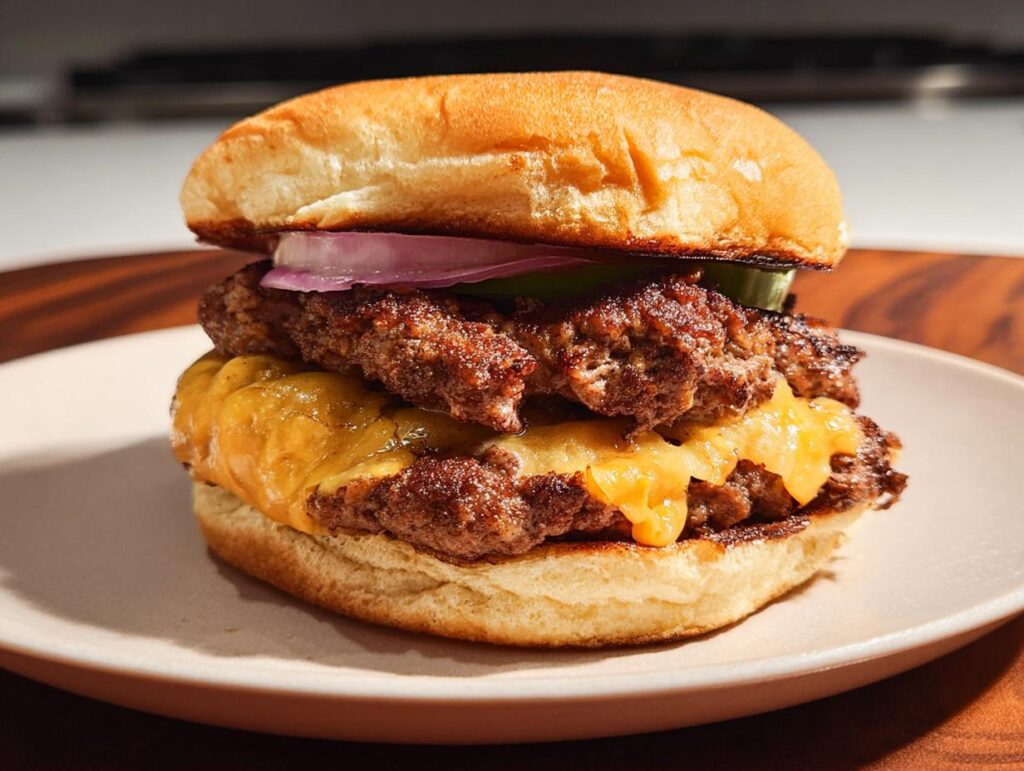
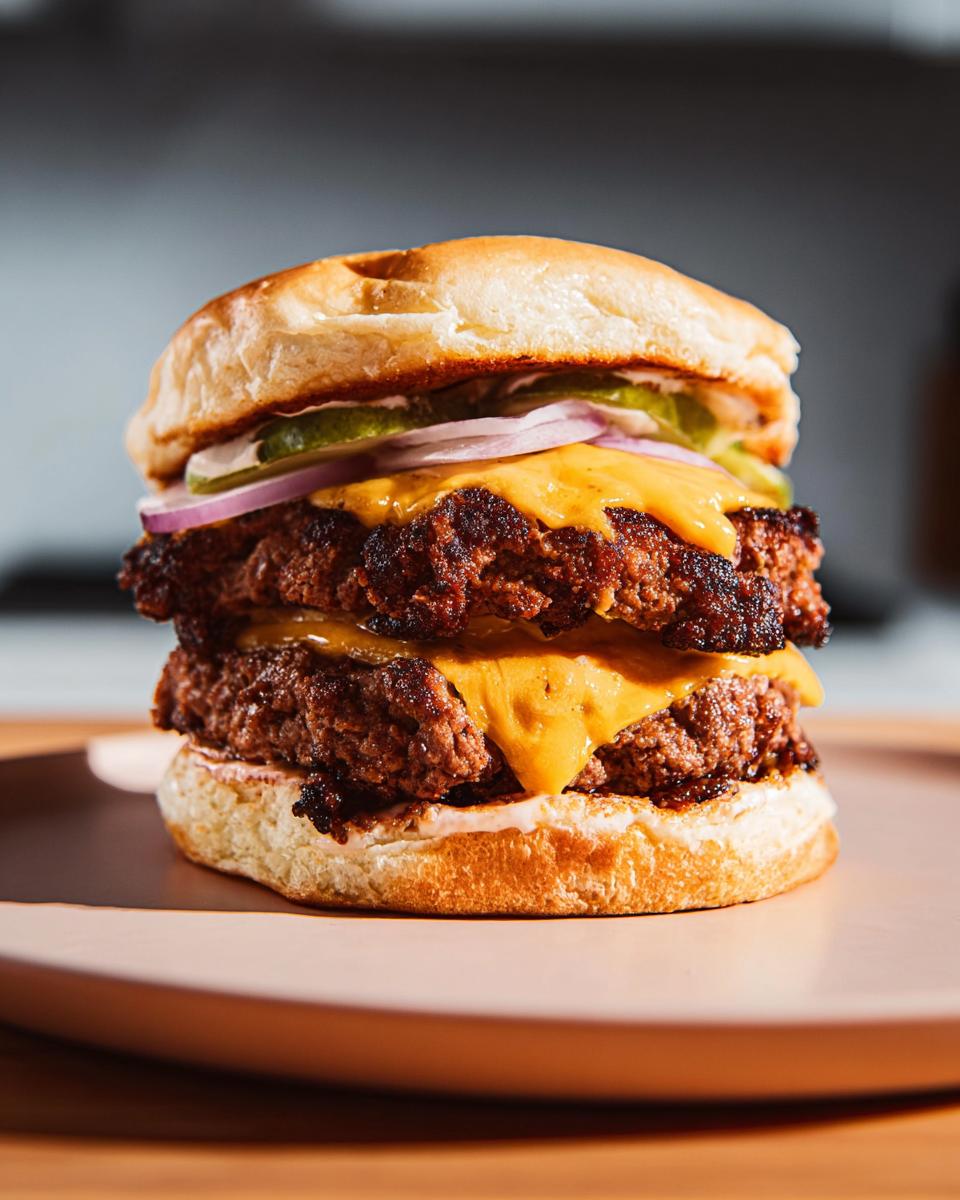
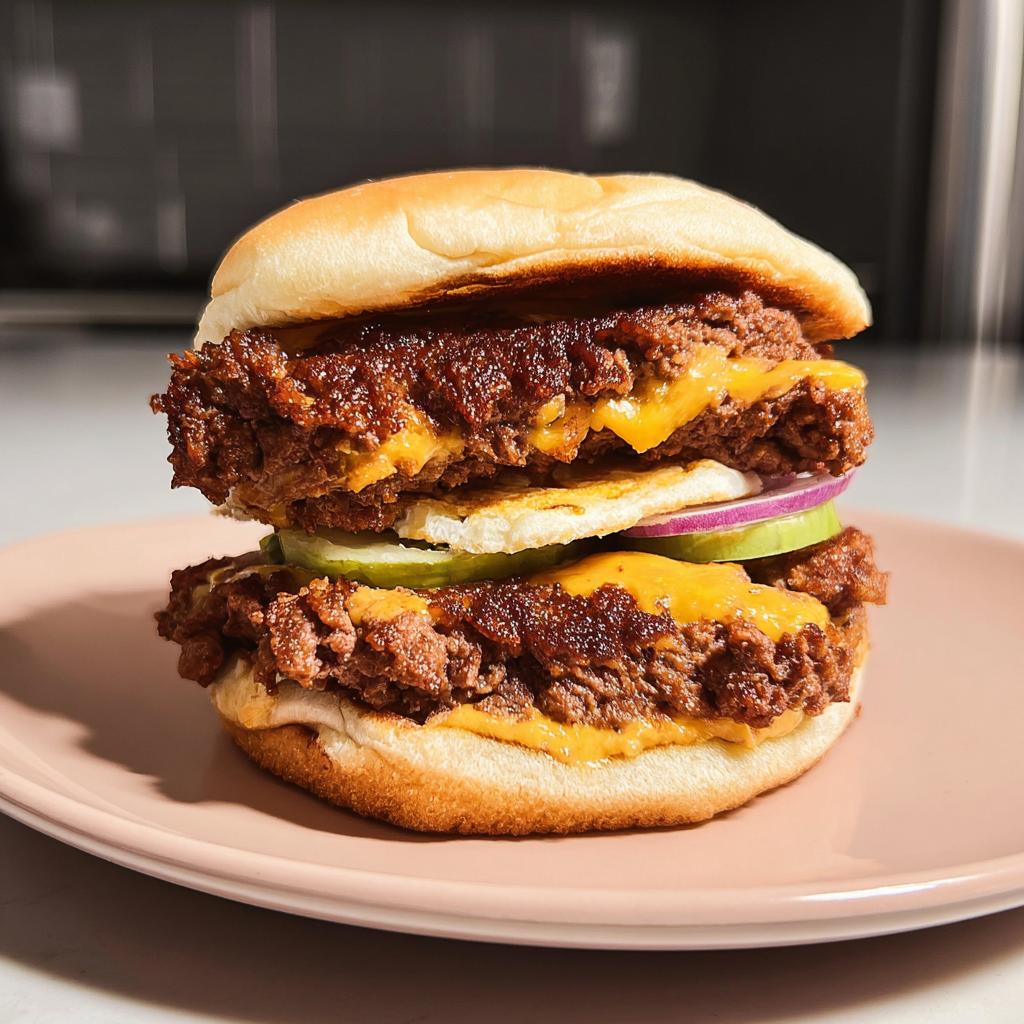
Alright, so THIS smashburger? It’s pretty darn special, and it’s the perfect little taste of what you’ll find in my Ultimate Ground Beef Recipes Guide. What makes it a total winner? It’s ridiculously fast – we’re talking mere minutes from start to finish. Plus, it’s honestly so easy, even if you’ve never cooked a burger before. But don’t let the simplicity fool you; the flavor is HUGE! It’s seriously the best kind of easy ground beef dinner for those ridiculously busy nights when you just need something amazing on the table, pronto. It’s a total win for weeknight cooking and everyone in the family will gobble it up!
Gather Your Ingredients for the Ultimate Ground Beef Recipes Guide
Okay, let’s get our game faces on! To make these amazing smashburgers, you’ll need just a few things. Trust me, the less fuss, the better the burger, especially when we’re talking about simple ground beef recipes. Here’s what you gotta grab:
For the Patties
- 4 ounces ground beef (I like to use 15% fat, it makes them so juicy!)
- 1.5 ounces sharp cheddar cheese, grated
For Assembly
- 1 English muffin, potato bun, or brioche roll, split
- Salt, to taste
- Pepper, to taste
Crafting the Perfect Smashburger: Step-by-Step
Alright, let’s get cooking! This is where the magic happens, and don’t worry, it’s super straightforward. We’ll go from raw beef to a juicy burger in just minutes. Ready?
Preparing the Cheesy Beef Balls
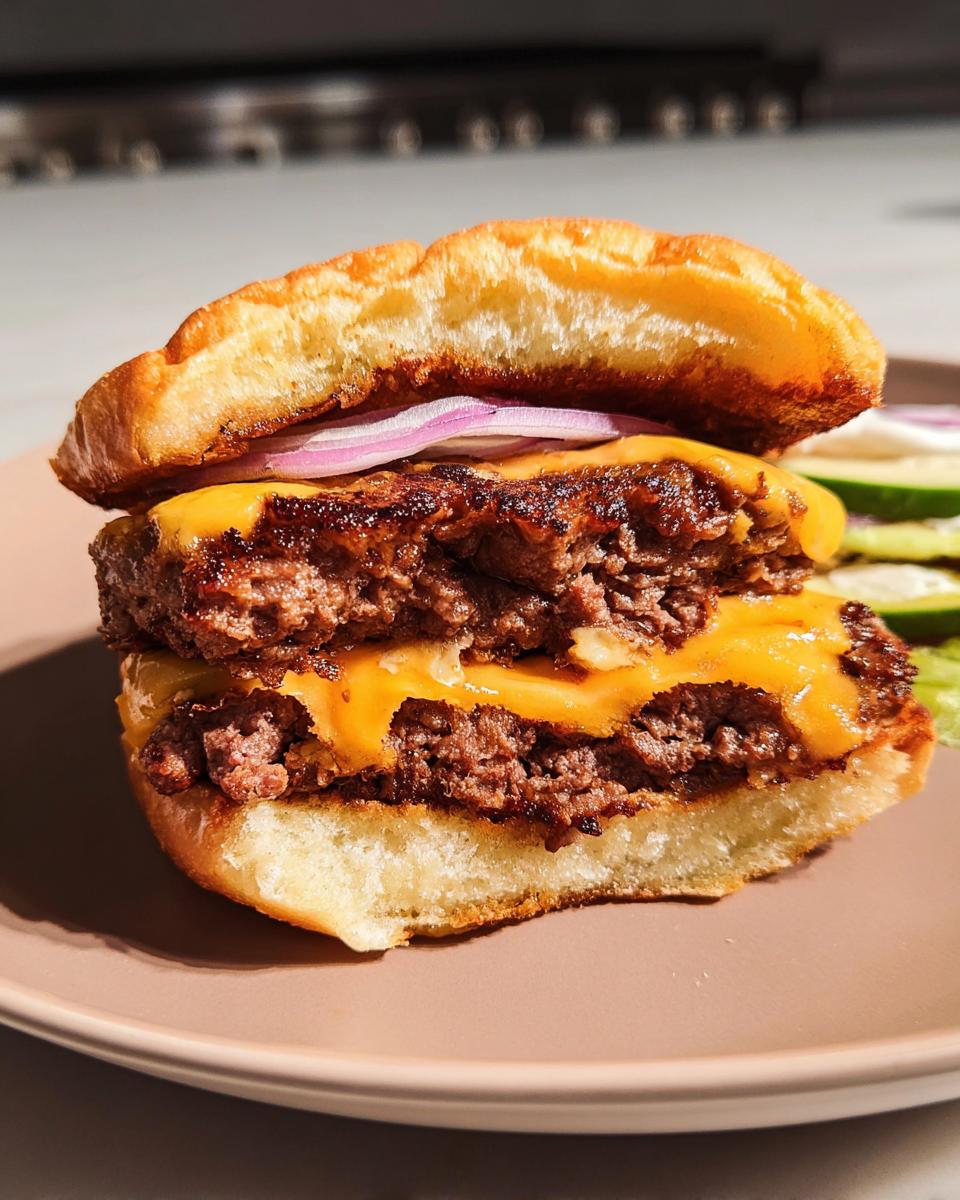
First things first, grab your ground beef and that lovely grated cheddar. Gently mix them together with your hands – just until they’re combined. Don’t overwork it! Now, split that mixture in half and roll each bit into a nice, neat ball. Easy peasy!
Prepping Your Bun and Toppings
While your skillet is getting nice and hot (our little secret for that perfect crust!), go ahead and toast your bun. Pop on any of your favorite condiments or toppings now. That way, when your burger is ready, you can just slap it on and go!
Searing and Smashing for Ultimate Ground Beef Recipes
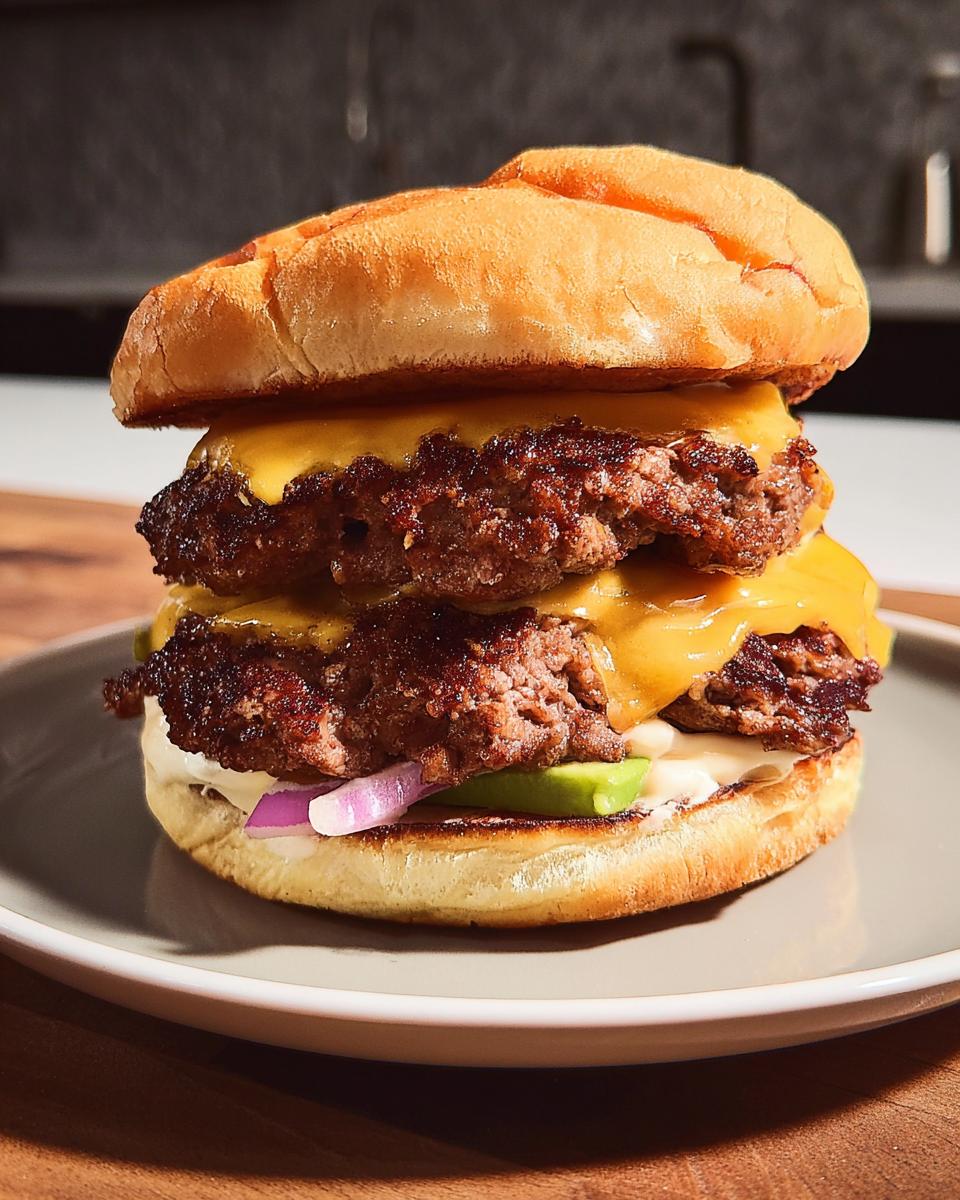
Turn on your vent hood, because things are about to get a little exciting (and maybe a bit smoky!). Get your cast-iron skillet screaming hot over high heat. Carefully place those cheesy beef balls in the skillet, giving them some space. Now, with your metal spatula, give each ball a firm, confident smash until it’s about as wide as your bun. Season generously with salt and pepper right away – this is key!
The Final Flip and Assembly
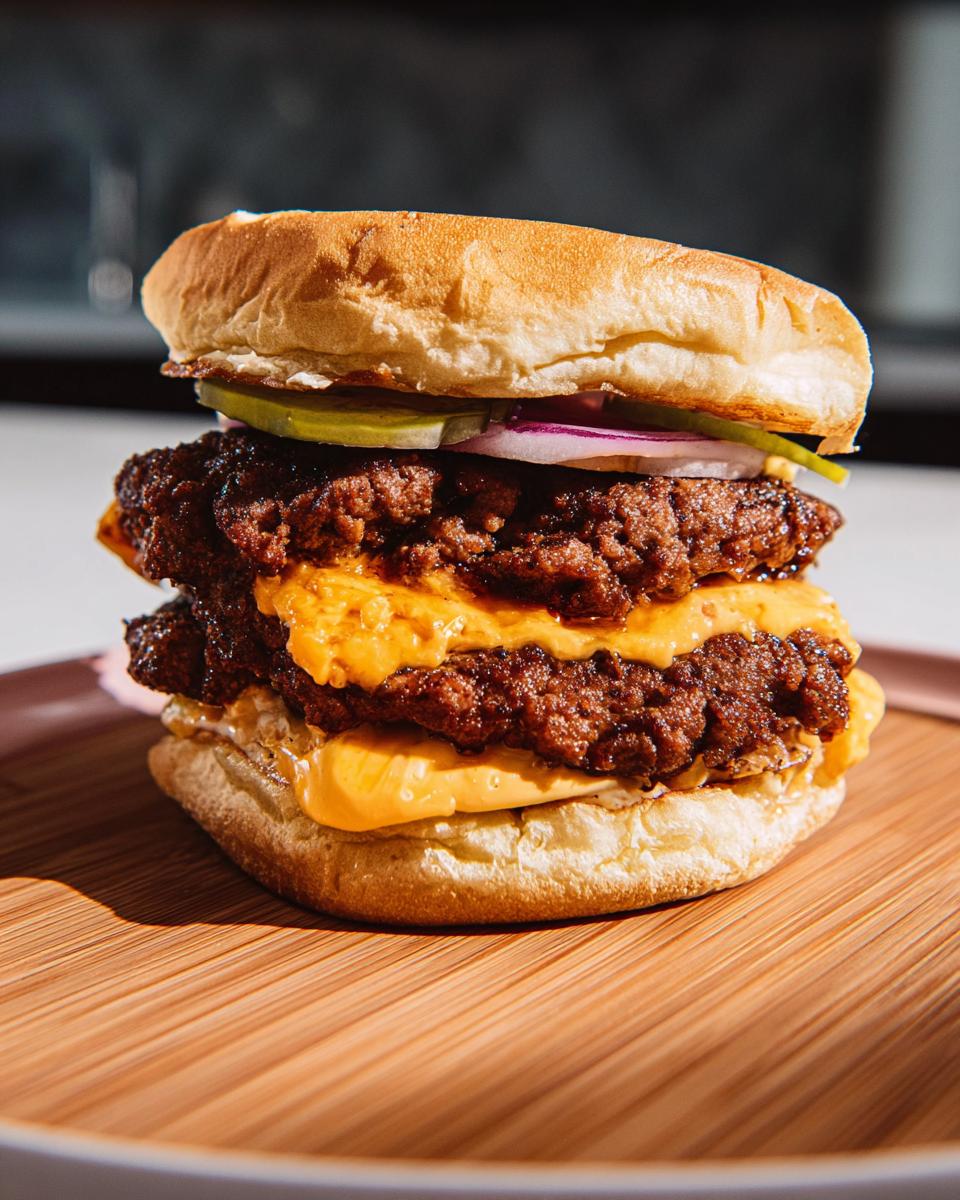
Let that first side cook for about a minute – you’ll see those edges getting wonderfully crisp. Then, commit! Slide your spatula underneath and confidently flip it over. Cook the second side for just about 45 seconds. Stack those two glorious patties right on top of each other, place them on your waiting bun, close it up, and serve immediately. Seriously, don’t wait – these are best eaten fresh off the griddle!
Tips for Success with Ground Beef Recipes
Okay, want to make sure your smashburgers (and honestly, any ground beef dish!) turn out absolutely *perfect* every time? I’ve picked up a few tricks over the years that make all the difference. First off, when you’re making these smashies, go for ground beef with at least 15% fat. That fat is where all the flavor and juiciness comes from – don’t be afraid of it! Another biggie: be gentle with the meat. Overworking it makes the burgers tough, and nobody wants that. Just mix it enough to combine with the cheese and form your balls.
Now, for the actual cooking: high heat is your best friend! Seriously crank up that skillet. A smoking hot cast-iron pan is where you get that amazing crust. And you need a good, sturdy metal spatula; the ones with a thin edge really help you get under the patty to smash and flip without it falling apart. Following these little tips will seriously up your game and make sure your meals, whether it’s this burger or anything from the Ultimate Ground Beef Recipes Guide, are a total success. You’ve got this! For more pro tips on cooking protein, check out how to make chicken thighs like a pro!
Customizing Your Smashburger
Now, while this basic smashburger is absolutely delicious just as it is, the best part is how easy it is to make it YOUR OWN! Think of this as just the starting point. Want to add some crunch? Pile on crisp lettuce, juicy tomato slices, or some zesty pickles. A little bite from some thinly sliced red onion can be fantastic too. And don’t even get me started on sauces! A drizzle of ketchup, a dollop of mayo, or even a special burger sauce can totally change the game. It’s all about playing around and finding what makes your taste buds sing. That’s the beauty of ground beef – it plays well with practically everything!
Frequently Asked Questions about Ground Beef Recipes
Got questions? I’ve got answers! Making great ground beef meals, especially these super-fast smashburgers, is all about knowing a few key things. Here are some common questions I get, and remember, you can find even more tasty ideas in my gluten-free dinner section!
Best Fat Content for Smashburgers
For the juiciest, most flavorful smashburgers, you really want ground beef that’s around 15% to 20% fat. That bit of extra fat melts as it cooks, making your patties incredibly moist and delicious. Anything leaner can end up a bit dry, and trust me, we want maximum flavor here!
Making Smashburger Patties in Advance
You totally can make the cheesy beef balls ahead of time! Just make sure to keep them covered in the fridge. The only thing to watch out for is that they might get a *little* firmer from chilling. Honestly, they’re best smashed when they’re not super cold, but if you need to prep ahead, it’s totally doable. Just let them sit out for literally two minutes before smashing.
Ensuring Your Smashburger Holds Together
The key here is *gentle* mixing. Don’t mush the meat and cheese together endlessly – just enough to combine. Then, form those balls gently. When you smash them in the pan, be firm and confident. That smash not only makes them thin but also helps them bind together as they sear. A good, thin spatula helps a ton too, so you can get right under it for that strong flip!
Nutritional Information for Your Smashburger
So, you’ve made an awesome smashburger! It’s important to remember that these numbers are just estimates, ’cause, you know, brands and specific ingredients can change things up a bit. But generally, one of these delicious burgers will probably come in around 450-550 calories, with about 30-40g of fat, and a solid 20-25g of protein. Carbs will vary a lot depending on your bun choice! Enjoy!
Share Your Ultimate Ground Beef Recipes Creations!
Alright, now it’s YOUR turn to shine! Go ahead and give this smashburger recipe a try. I’d absolutely LOVE to hear how it turns out for you – tell me all about it in the comments below! Did you add any special toppings? And if you snap some photos, tag us on social media so I can see your amazing creations. Happy cooking, and be sure to check out more inspiration from folks like our contributors!
Smashburger
Ingredients
Equipment
Method
- In a bowl, gently combine the ground beef and grated cheddar with your hands until fully incorporated. Divide the mixture in half and form each half into a ball.
- Toast your bun if desired. Add your preferred condiments and toppings to the bun so they are ready when the patties are done.
- Turn on your stove’s vent hood. Heat a cast-iron skillet over high heat until very hot and smoking. Place the cheesy beef balls into the hot skillet, spacing them apart. Smash each ball with a metal spatula until it is slightly wider than your bun (about 3.5 inches in diameter). Immediately season with salt and pepper.
- Cook for 1 minute, then confidently scrape under the patty and flip it. Cook the other side for 45 seconds. Stack the cooked patties on top of each other, place them on the bun, close the burger, and serve immediately.
Notes
Tried this recipe?
Let us know how it was!Aria Russell is an accomplished Recipe Developer, culinary writer, and digital food educator passionate about helping home cooks create memorable meals with ease and confidence. With a career built on recipe innovation, kitchen experimentation, and food storytelling, Aria has become known for her ability to transform simple ingredients into dishes that are vibrant, comforting, and deeply satisfying. Today, she proudly contributes to grevva.com, where her recipes empower readers to cook smarter, eat better, and enjoy every step of the process.
Aria’s culinary journey began in local cafés and farm-to-table kitchens, where she spent her early career refining her skills in seasonal cooking, flavor building, and kitchen efficiency. Driven by a love for teaching and creativity, she transitioned from the back of the house into culinary content and recipe writing, eventually building a portfolio of step-by-step guides, family-friendly recipes, and educational cooking resources. Her ability to blend professional kitchen knowledge with approachable cooking techniques quickly set her apart in the food media world.
Over the years, Aria has collaborated with food startups, cooking instructors, and kitchenware brands to develop recipes and digital content for both beginner and seasoned home cooks. Her work has been shared across online food communities and featured in curated recipe collections for its clarity, inspiration, and consistently delicious results. She is recognized for her thoughtful approach to recipe testing and her dedication to helping readers understand the “why” behind every technique—not just the steps.