There’s just something magical about Sunday dinners, isn’t there? That feeling of everyone piling around the table, sharing stories from the week, and tucking into a meal that just feels like *home*. My mom always said the secret to a great family meal wasn’t fancy ingredients, but love and a little bit of patience. And for her, that often meant chicken thighs. They were so forgiving, always stayed nice and juicy, and were easy on the wallet, too! That’s why I’m so excited to share my absolute favorite chicken thigh recipes with you today. Think of this as your go-to spot for Family Favorite Chicken Thigh Recipes that are guaranteed to be easy, packed with flavor, and loved by even the pickiest eaters. These recipes are more than just dinner; they’re about creating those cherished moments, just like my mom used to do, filling the house with warmth and delicious smells.
Why You’ll Love These Crispy Ranch Chicken Thighs
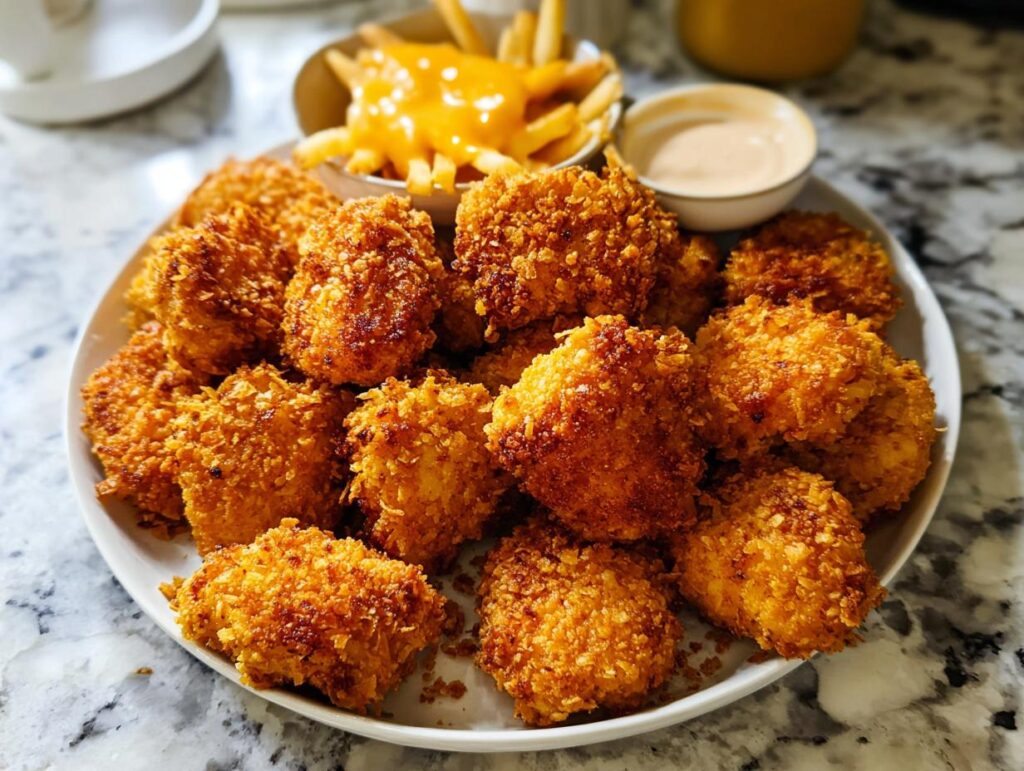
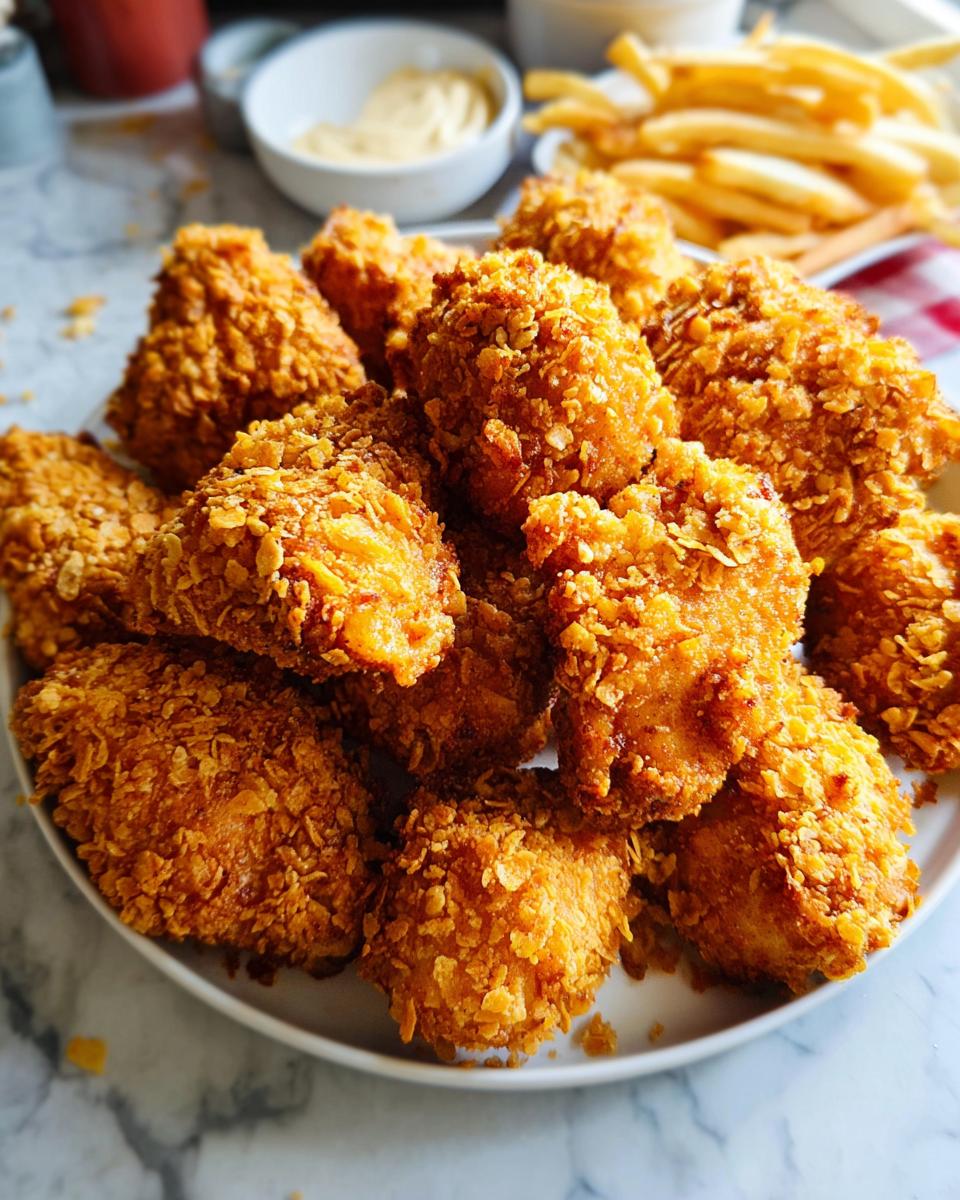
It’s no wonder these crispy ranch chicken thighs are a family favorite! They’re just so darn easy to whip up, perfect for when you’re short on time but still want something super delicious.
Plus, that ranch flavor is a guaranteed hit with everyone, from the littlest eaters to the pickiest adults. And the best part? You get that amazing crispy coating on the outside while the inside stays wonderfully juicy chicken. Talk about a win-win! It’s practically a one-pan dinner dream, meaning less mess for you and more time enjoying those precious family moments.

Gather Your Ingredients for Family Favorite Chicken Thigh Recipes
Alright, let’s get down to business! For these amazing Crispy Ranch Chicken Thighs, you’ll want to gather up these goodies. Don’t worry, they’re all pretty standard kitchen staples, with that delicious ranch mix for a little zing!
For the Chicken:
- 1.5 pounds boneless skinless chicken thighs, cut into 1-inch chunks (this size is perfect for getting that crispy coating all over!)
- 1 tablespoon Ranch Seasoning and Salad Dressing Mix (the kind in the packet is perfect!)
- 1/4 teaspoon cayenne pepper (this is optional, but it gives just a tiny bit of warmth that I love)
- 1/2 teaspoon Kosher salt
- 1/2 teaspoon black pepper
- 3/4 cup all-purpose flour
For the Buttermilk Mixture:
- 1 cup buttermilk (this is key for tender chicken!)
- 1 large egg
For the Cornflake Mixture:
- 1.5 cups cornflake crumbs (just crush up some cornflakes, easy peasy!)
- 1/3 cup freshly grated Parmesan cheese (freshly grated really makes a difference here!)
- 3 tablespoons canola oil (or any neutral oil you have on hand)
- Kosher salt and freshly ground black pepper, just to taste
Step-by-Step Guide to Making Crispy Ranch Chicken Thighs
Alright, let’s get these amazing chicken thighs into the oven! Following these steps makes sure you get perfectly crispy chicken thighs every single time, with that wonderfully juicy chicken inside. Trust me, the little extra effort here really pays off!
-
First things first, crank up that oven to 425 degrees F. While it heats, grab a cooling rack, give it a little coat with nonstick spray (this is super important for easy cleanup!), and nestle it onto a baking sheet. Pop that in the oven so it starts getting warm too – a hot rack helps for crispiness!
-
Now, grab a big ol’ bowl. Toss your chicken chunks in there with the Ranch Seasoning, that optional cayenne pepper if you’re feeling a little spicy, and our 1/2 teaspoon salt and 1/2 teaspoon pepper. Give it all a good stir so every piece is coated. Let this sit for at least 30 minutes. This marinating bit really lets the flavors sink in and tenderize the chicken, which is key for flavor!
-
While that chicken is doing its thing, let’s make the wet stuff. In a medium bowl, just whisk together the buttermilk and the egg until they’re nice and combined. This is our magic dip!
-
Time for the crispy coating! In another big bowl, mix the cornflake crumbs, that lovely freshly grated Parmesan, and the canola oil. Add a pinch more salt and pepper here if you like. Give it a really good stir to get everything nicely incorporated. The oil helps the crumbs stick better and get extra toasty.
-
Here comes the fun part: dredging! Take one piece of marinated chicken at a time. Give it a good roll in the flour first, getting all sides coated. Then, dip it into the buttermilk mixture, let any excess drip off for a second, and finally, press it into that cornflake-Parmesan mix. Really get it coated – you want a nice, thick, craggy coating!
-
Gently place each coated chicken piece in a single layer onto that hot rack on your baking sheet. Make sure they have a little space between them – crowding makes them steam instead of crisp! Give them a quick spritz or light brush with nonstick spray so they turn out golden brown.
-
Pop the whole pan into your preheated oven. Bake for about 13-15 minutes. You’re looking for that coating to be beautifully golden and crisp, and the chicken to be cooked all the way through. You can always check with a meat thermometer if you want to be super sure – it should read 165 degrees F.
-
And that’s it! Serve them up right away while they’re piping hot and at their crispiest. Enjoy!
Tips for Perfect Family Favorite Chicken Thigh Recipes
You know, making truly fantastic chicken thighs isn’t just about following a recipe; it’s about a few little tricks that make all the difference! These are the things I’ve learned over the years, the little bits of wisdom that help turn a good meal into an unforgettable one. When you nail these, you’ll see why chicken thighs are such a hero in my Family Favorite Chicken Thigh Recipes book!
Achieving Maximum Crispy Chicken Thighs
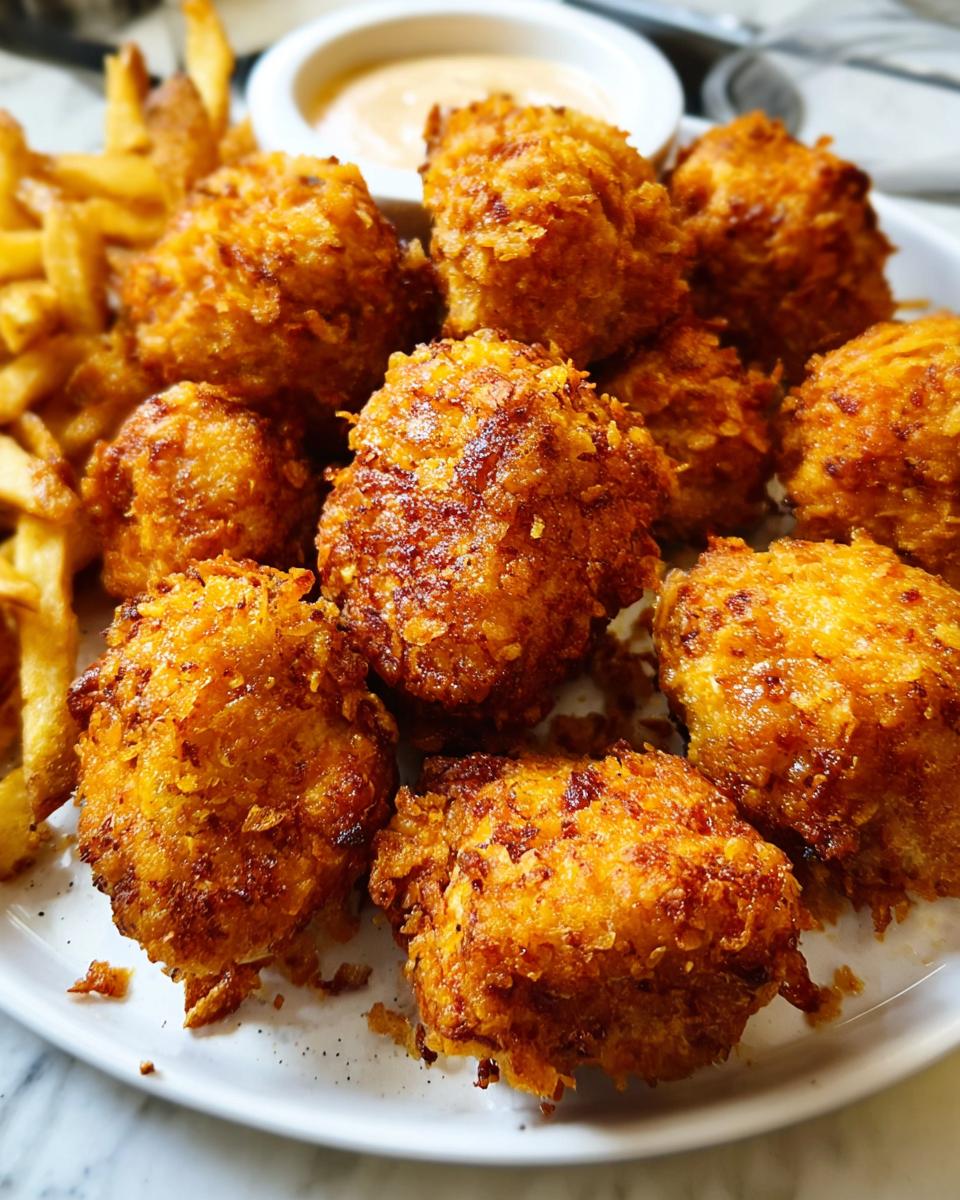
Okay, let’s talk crispiness! The absolute best way to get that super satisfying crunch on your crispy chicken thighs is all about preparation. Make sure your chicken isn’t sitting in a puddle of liquid before you coat it – a quick pat with a paper towel really helps. And don’t crowd the pan! Seriously, give each piece some breathing room on that hot baking sheet and rack. It lets the hot air circulate all around, turning that coating golden and crunchy instead of steamy and soft. Spacing is key!
Ensuring Juicy Chicken Every Time
Nobody likes dry chicken, right? That’s where chicken thighs just shine! They have enough fat to stay incredibly tender. The biggest thing is not to overcook them. That 13-15 minute bake time is pretty spot on for bite-sized pieces. If you’re using bigger chunks or baking bone-in thighs, just watch them closely. Relying on that quick marinating time in the buttermilk and ranch mix also helps keep the inside super juicy chicken, so don’t skip that step! It’s all about that perfect balance between a crispy exterior and a moist, flavorful inside.
Serving Suggestions for Your Family Favorite Chicken Thigh Recipes
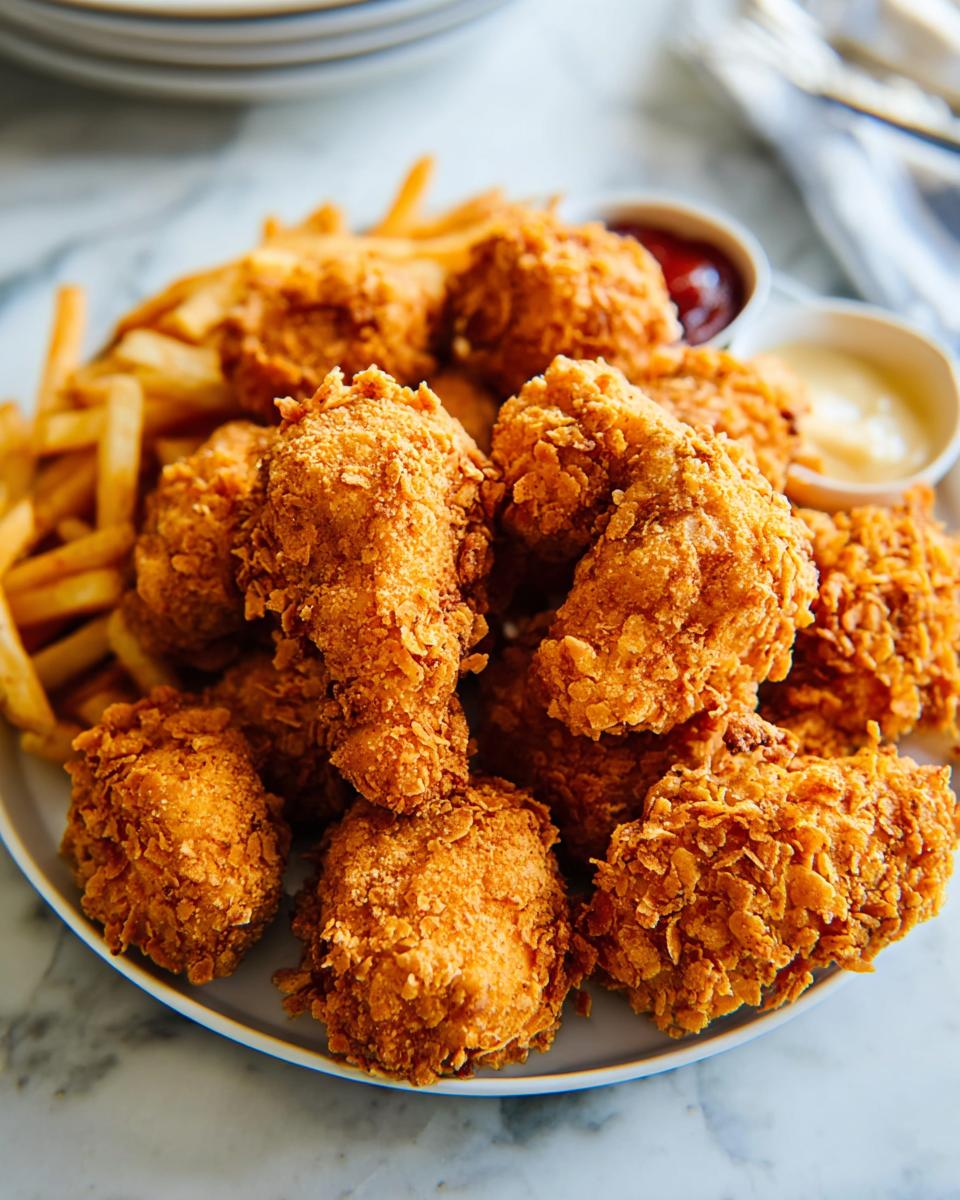
These Crispy Ranch Chicken Thighs are so versatile, they’re practically begging to be paired with all sorts of yummy sides! For a classic family dinner vibe, you can’t go wrong with some fluffy mashed potatoes or maybe a baked potato to soak up any extra deliciousness. A simple side salad with a bright vinaigrette always cuts through the richness beautifully. For something a little more fun, try some roasted broccoli or green beans – they get a little sweet and tender in the oven. Honestly, these chicken thighs are so good, they’ll make even a simple weeknight meal feel special!
Make-Ahead and Storage for Meal Prep
Here’s some great news for all you busy bees out there: these Crispy Ranch Chicken Thighs are absolute rockstars for meal prep! You can totally get a head start on the week with these. My favorite trick is to do all the coating part – that flour, buttermilk, and cornflake dredge – and get the chicken prepped on the baking sheet *before* baking. Then, just cover the whole pan (or individual portions) and pop it in the fridge. When you’re ready to cook, just pop that sheet straight into a hot oven (it might take a couple of extra minutes since it’s going in cold).
As for leftovers, let the chicken cool down completely first. Then, store them in an airtight container in the fridge for up to 3 days. They’re still delicious cold for a salad or sandwich! If you want that crispy texture back, the best way to reheat is in an oven or toaster oven at around 375°F for about 5-10 minutes. The microwave can make them a bit chewy, so I usually skip that for these.
Frequently Asked Questions About Family Favorite Chicken Thigh Recipes
Got questions about making these amazing chicken thighs taste their absolute best? I’ve got you covered! You know, figuring out the little details can make all the difference in these Family Favorite Chicken Thigh Recipes. Here are a few things folks often ask:
Can I substitute chicken breast for thighs?
Oh, you totally *can*, but you’ll need to watch the cooking time more closely! Chicken breast is leaner, so it cooks faster and can dry out easily if you’re not careful. For this recipe, I’d suggest reducing the baking time by a few minutes and keeping a close eye on it. Thighs are just naturally more forgiving and stay super juicy chicken!
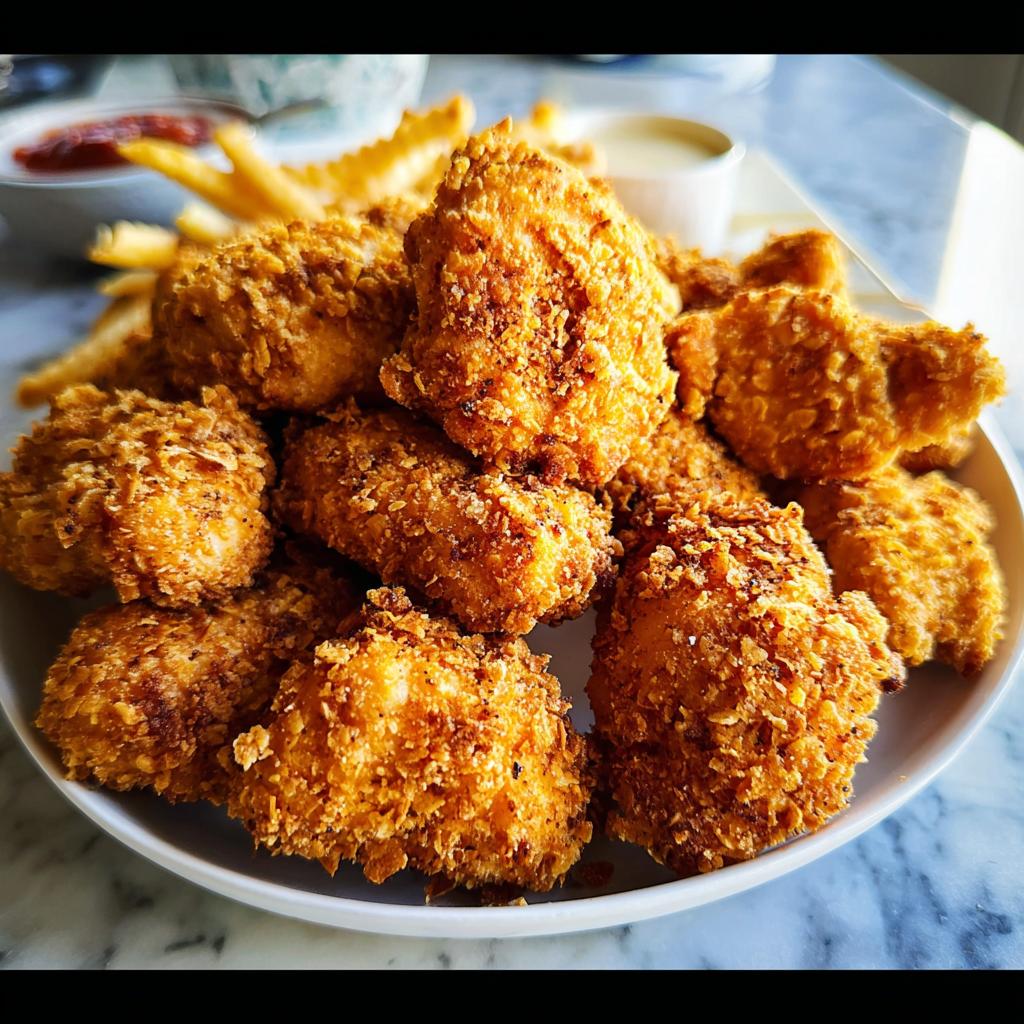
How to make these chicken thighs even crispier?
For that extra-crunch factor on your crispy chicken thighs, try a double dip! After you dredge them in flour, dip them in the buttermilk, then back into the flour, *then* into the buttermilk again, and finally into the cornflake mix. This builds up a thicker coating that gets oh-so-crispy. Also, make sure your baking sheet and cooling rack are hot when the chicken goes on – hot surface equals instant crisp!
Is this a good one-pan dinner recipe?
It’s pretty darn close to a one-pan dinner! You’re baking the chicken on a sheet pan, so cleanup is minimal. Now, if you want a *full* meal right off that pan, you could totally roast some veggies like broccoli florets or diced bell peppers alongside the chicken for the last 10-15 minutes of baking. Just toss them with a little oil, salt, and pepper on the same pan (but maybe not on the rack so they cook evenly!) and dinner is served!
Nutritional Information
Just a friendly heads-up: the nutritional info below is an estimate, since things can vary a bit depending on the brands you use and how much you just *have* to sprinkle on top! This is based on the recipe as written, serving 4 hungry folks. You’re looking at roughly 450-500 calories, with around 25-30g of fat, a solid 35-40g of protein, and about 20-25g of carbs per serving.
Share Your Family Favorite Chicken Thigh Recipes!
Alright, now it’s your turn! I’d absolutely LOVE to hear what you think of these Crispy Ranch Chicken Thighs. Did your family devour them? Did you try any fun twists or make them part of a whole new family tradition? Drop a comment below and let me know all about it – your feedback and stories really make my day!
Crispy Ranch Chicken Thighs
Ingredients
Equipment
Method
- Preheat your oven to 425 degrees F. Coat a cooling rack with nonstick spray and place it on a baking sheet. Set aside.
- In a large bowl, combine the chicken chunks, Ranch Seasoning and Salad Dressing Mix, cayenne pepper (if using), 1/2 teaspoon salt, and 1/2 teaspoon pepper. Toss to coat the chicken evenly. Let it sit for at least 30 minutes to marinate.
- While the chicken marinates, prepare the buttermilk mixture. In a medium bowl, whisk together the buttermilk and the egg.
- In another large bowl, combine the cornflake crumbs, grated Parmesan, and canola oil. Season with salt and pepper to your taste. Mix well.
- Working with one piece of chicken at a time, dredge it in the flour, then dip it into the buttermilk mixture, and finally dredge it in the cornflake mixture, pressing gently to ensure it’s well coated.
- Place the coated chicken pieces in a single layer onto the prepared baking sheet with the cooling rack. Lightly coat the chicken with nonstick spray.
- Bake in the preheated oven for about 13-15 minutes, or until the chicken is crisp and cooked through.
- Serve immediately.
Notes
Tried this recipe?
Let us know how it was!Aria Russell is an accomplished Recipe Developer, culinary writer, and digital food educator passionate about helping home cooks create memorable meals with ease and confidence. With a career built on recipe innovation, kitchen experimentation, and food storytelling, Aria has become known for her ability to transform simple ingredients into dishes that are vibrant, comforting, and deeply satisfying. Today, she proudly contributes to grevva.com, where her recipes empower readers to cook smarter, eat better, and enjoy every step of the process.
Aria’s culinary journey began in local cafés and farm-to-table kitchens, where she spent her early career refining her skills in seasonal cooking, flavor building, and kitchen efficiency. Driven by a love for teaching and creativity, she transitioned from the back of the house into culinary content and recipe writing, eventually building a portfolio of step-by-step guides, family-friendly recipes, and educational cooking resources. Her ability to blend professional kitchen knowledge with approachable cooking techniques quickly set her apart in the food media world.
Over the years, Aria has collaborated with food startups, cooking instructors, and kitchenware brands to develop recipes and digital content for both beginner and seasoned home cooks. Her work has been shared across online food communities and featured in curated recipe collections for its clarity, inspiration, and consistently delicious results. She is recognized for her thoughtful approach to recipe testing and her dedication to helping readers understand the “why” behind every technique—not just the steps.